
Table of Contents
Driving with faulty lights is not only dangerous but can also land you in legal trouble. Fortunately, replacing car light bulbs is a straightforward task that most motorists can tackle themselves, saving both time and money.
This guide will walk you through the process of changing various car lights, from headlights to brake lights, ensuring you can keep your vehicle safe and roadworthy.
Types of car light bulbs
The most common types of car light bulbs include:
Halogen bulbs: These are the traditional choice for most vehicles, offering a warm, yellowish light.
LED bulbs: Light-emitting diodes provide brighter, more energy-efficient lighting.
Xenon (HID) bulbs: High-intensity discharge bulbs offer a crisp, white light but require professional installation due to high voltage.
Incandescent bulbs: Older technology still found in some interior lights and indicators.
Functions of different car lights
Headlights: Illuminate the road ahead, with low and high beam options.
Fog lights: Provide better visibility in poor weather conditions.
Brake lights: Alert other drivers when you’re slowing down.
Indicator lights: Signal your intentions to change lanes or make a turn.
Reversing lights: Illuminate the area behind your vehicle when in reverse gear.
Number plate lights: Ensure your registration plate is visible at night.
Importance of regular bulb checks
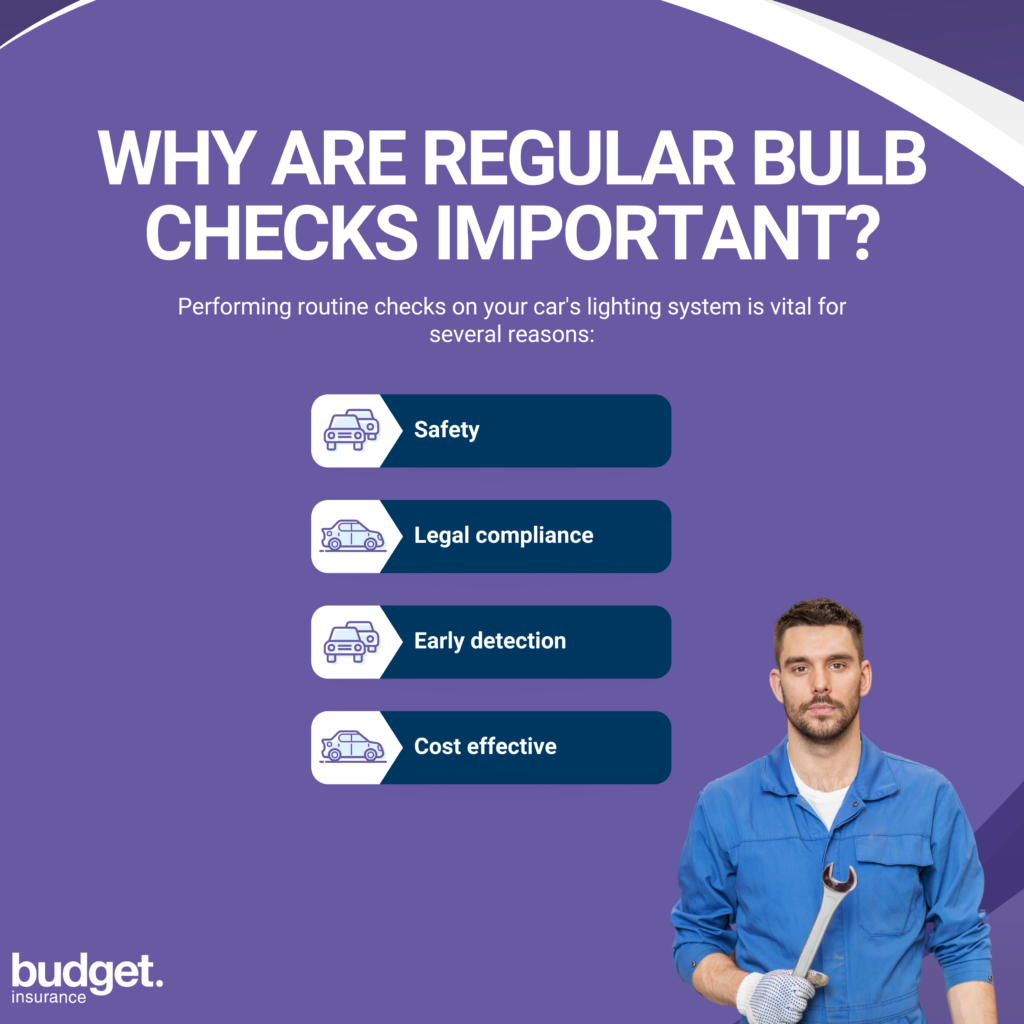
Safety: Properly functioning lights ensure you can see and be seen on the road.
Legal compliance: Driving with faulty lights can result in fines or penalties.
Early detection: Regular checks help identify issues before they become more serious problems.
Cost-effective: Addressing bulb issues early can prevent more expensive repairs down the line.
Preparing for the bulb replacement
Gathering the required tools
To change your car’s light bulbs, you’ll typically need some car essentials such as:
Replacement bulbs (specific to your vehicle model)
Screwdriver set (flathead and Phillips head)
Socket wrench set
Clean, lint-free gloves
Owner’s manual
Torch or work light
Safety glasses
Identifying the correct replacement bulb
To ensure you purchase the right bulb:
Consult your vehicle’s owner’s manual for the exact bulb specifications.
Check the existing bulb for any identifying numbers or codes.
Visit a reputable auto parts store or use online bulb finders to match your vehicle’s requirements.
Safety precautions
Before starting the replacement process:
Ensure the car is parked on a level surface with the engine off and cooled down.
Engage handbrake and remove the keys from the ignition.
Wear safety glasses to protect your eyes from debris.
Use clean, lint-free gloves to avoid contaminating the new bulb with skin oils.
Accessing the headlight assembly
Locating the headlight holder
To find the headlight holder:
Open the bonnet and secure it in place.
Locate the back of the headlight assembly in the engine bay.
Look for a circular plastic cover or a bundle of wires leading to the bulb.
Removing obstructions
Check if the battery, air filter housing, or other parts are blocking access.
Carefully remove any obstructing parts, keeping track of their positions for reassembly.
Some vehicles may require partial removal of the wheel arch liner for better access.
Disconnecting the electrical connector
Identify the electrical connector attached to the back of the bulb.
Carefully unclip or unscrew the connector, depending on your vehicle’s design.
Gently pull the connector away from the bulb, being careful not to damage the wires.
Removing the old headlight bulb
Releasing the retaining mechanism
Headlight bulbs are typically held in place by one of three mechanisms:
Clip: Press down on the metal clip and swing it away from the bulb.
Screw cap: Unscrew the plastic or metal ring holding the bulb in place.
Bayonet fitting: Push the bulb in and turn it anticlockwise to release.
Extracting the bulb
Once the retaining mechanism is released:
Gently grasp the base of the bulb (not the glass part).
Pull the bulb out of the socket.
If the bulb doesn’t come out easily, check for any remaining clips or obstructions.
Inspecting the socket and wiring
Before installing the new bulb:
Examine the socket for any signs of corrosion or damage.
Check wiring for any exposed metal or fraying.
Clean the socket with a dry cloth if necessary, removing any debris or moisture.
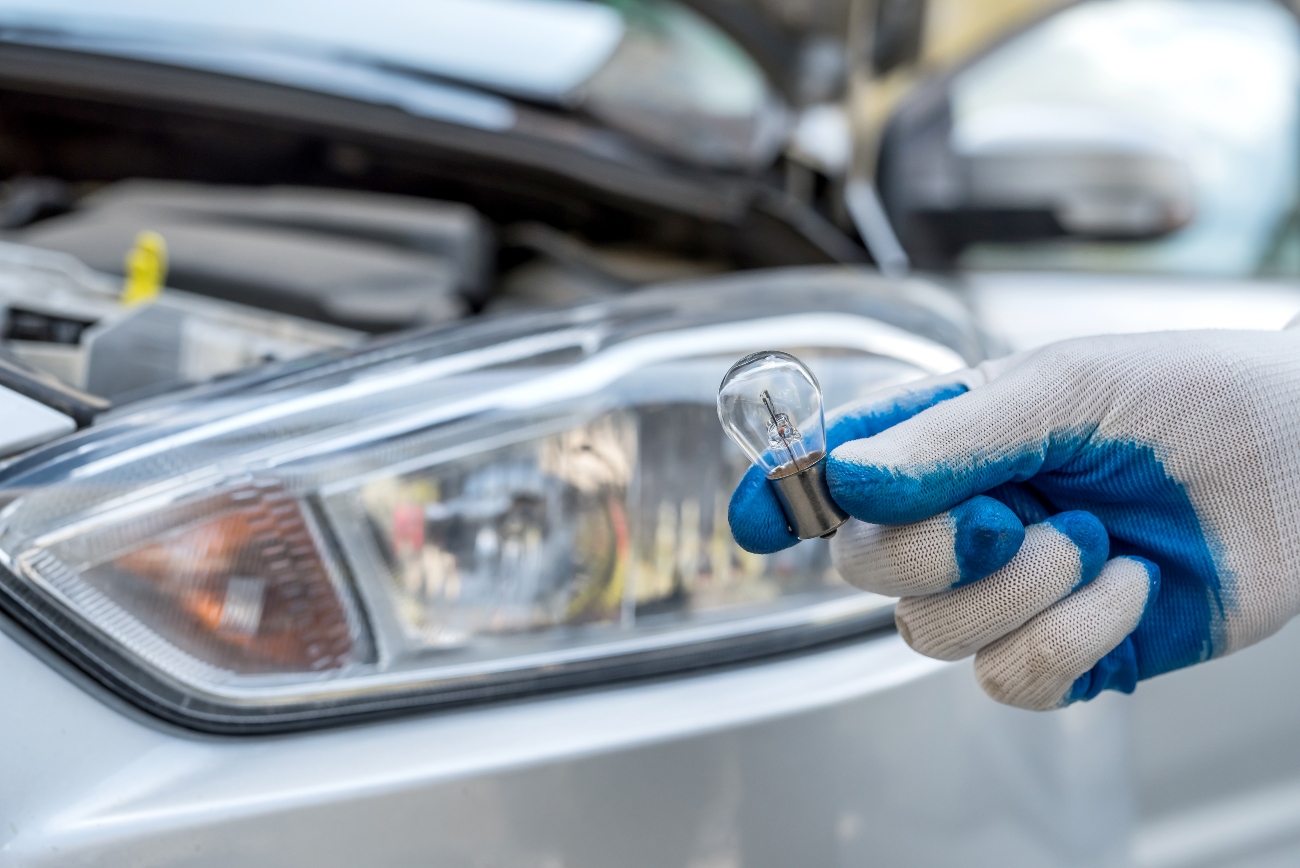
Installing the new headlight bulb
Handling the new bulb
When handling the new bulb:
Keep the bulb in its packaging until you’re ready to install it.
Wear clean, lint-free gloves to avoid contaminating the glass with skin oils.
Hold the bulb by its plastic or metal base, never touching the glass surface.
Aligning and inserting the bulb
Identify any alignment markers on the bulb and socket.
Carefully insert the bulb into the socket, ensuring it’s oriented correctly.
Gently push the bulb until it’s fully seated in the socket.
Securing the bulb
Once the bulb is in place:
Reattach the retaining clip, screw cap, or twist the bulb to lock it in place.
Ensure the bulb is securely fastened but avoid over-tightening.
Reconnect the electrical connector, making sure it clicks into place.
Replacing other car lights
Brake light replacement
To replace a brake light:
Access the bulb through the boot (trunk) or rear interior panel.
Remove any trim or coverings to expose the bulb holder.
Twist the bulb holder anticlockwise and pull it out.
Replace the bulb and reinsert the holder, turning clockwise to secure.
Indicator light replacement
Changing an indicator light typically involves:
Accessing the bulb from inside the engine bay or through the wheel arch.
Twisting the bulb holder to remove it from the light assembly.
Pulling out the old bulb and inserting the new one.
Reinserting the bulb holder and securing it in place.
Fog light replacement
Fog light replacement often requires:
Accessing the bulb from underneath the car or through the wheel arch.
Removing any protective covers or shields.
Disconnecting the electrical connector and removing the old bulb.
Installing the new bulb and reconnecting the wiring.
Testing the new bulbs
After installing new bulbs, it’s essential to test them to ensure they’re working correctly and safely.
Checking functionality
To test the new bulbs:
Turn on the ignition (but don’t start the engine).
Activate each light function (low beam, high beam, indicators, etc.).
Walk around the vehicle to visually confirm each light is working.
Assessing beam alignment
For headlights:
Park the car on a level surface facing a wall or garage door.
Turn on the headlights and check for even illumination.
Ensure the beams are not aimed too high/low.
Troubleshooting common issues
If a new bulb doesn’t work:
Check the electrical connection is secure.
Verify the bulb is the correct type and properly seated.
Inspect the fuse box for any blown fuses related to lighting.
Conclusion
Regular car maintenance and prompt replacement of faulty bulbs will keep your car shining bright, providing peace of mind during your journeys, day or night.
Remember, while many lighting issues can be resolved through DIY methods, don’t hesitate to seek professional help for more complex problems or if you’re unsure about any aspect of the replacement process.
Safe driving starts with good visibility, so keep those lights in check and enjoy the road ahead!
Frequently asked questions
Can I replace a headlight bulb myself?
Replacing a headlight bulb yourself is often a straightforward task that many car owners can tackle without professional help. With a few basic tools and a bit of patience, you can have your car’s headlights shining brightly again in no time.
Is changing a car bulb easy?
Changing a car bulb can seem daunting at first, but it’s actually quite straightforward with a bit of guidance. Most modern cars are designed to make the process as hassle-free as possible. Typically, you just need to access the headlight housing, remove the old bulb, and replace it with a new one.
How do I know if my car headlight bulb is fault?
Noticing a fault in your car’s headlight bulb can be quite simple if you know what to look for. If one of your headlights is dimmer than the other or fails to turn on altogether, it’s a clear sign that the bulb may be faulty.